When I first discovered mixed reality, I imagined many clever projects and artistic experiments that pushed the boundaries of this new medium. However, as I dug deeper, I was struck by the lack of inventiveness in the projects I encountered. Most projects seemed to stop at simply recreating 3D games in a more immersive environment without truly exploring the unexplored potential.
The root of the problem lies in the overly convoluted tools that dominate the mixed reality landscape, particularly game engines that can be daunting for novices. To overcome this, I dedicated my MA project at HEAD Geneva to creating user-friendly tools for spatial prototyping that would lower the barriers to entry. By opting for code-based tools, I sought to allow people to experiment without unnecessary constraints.
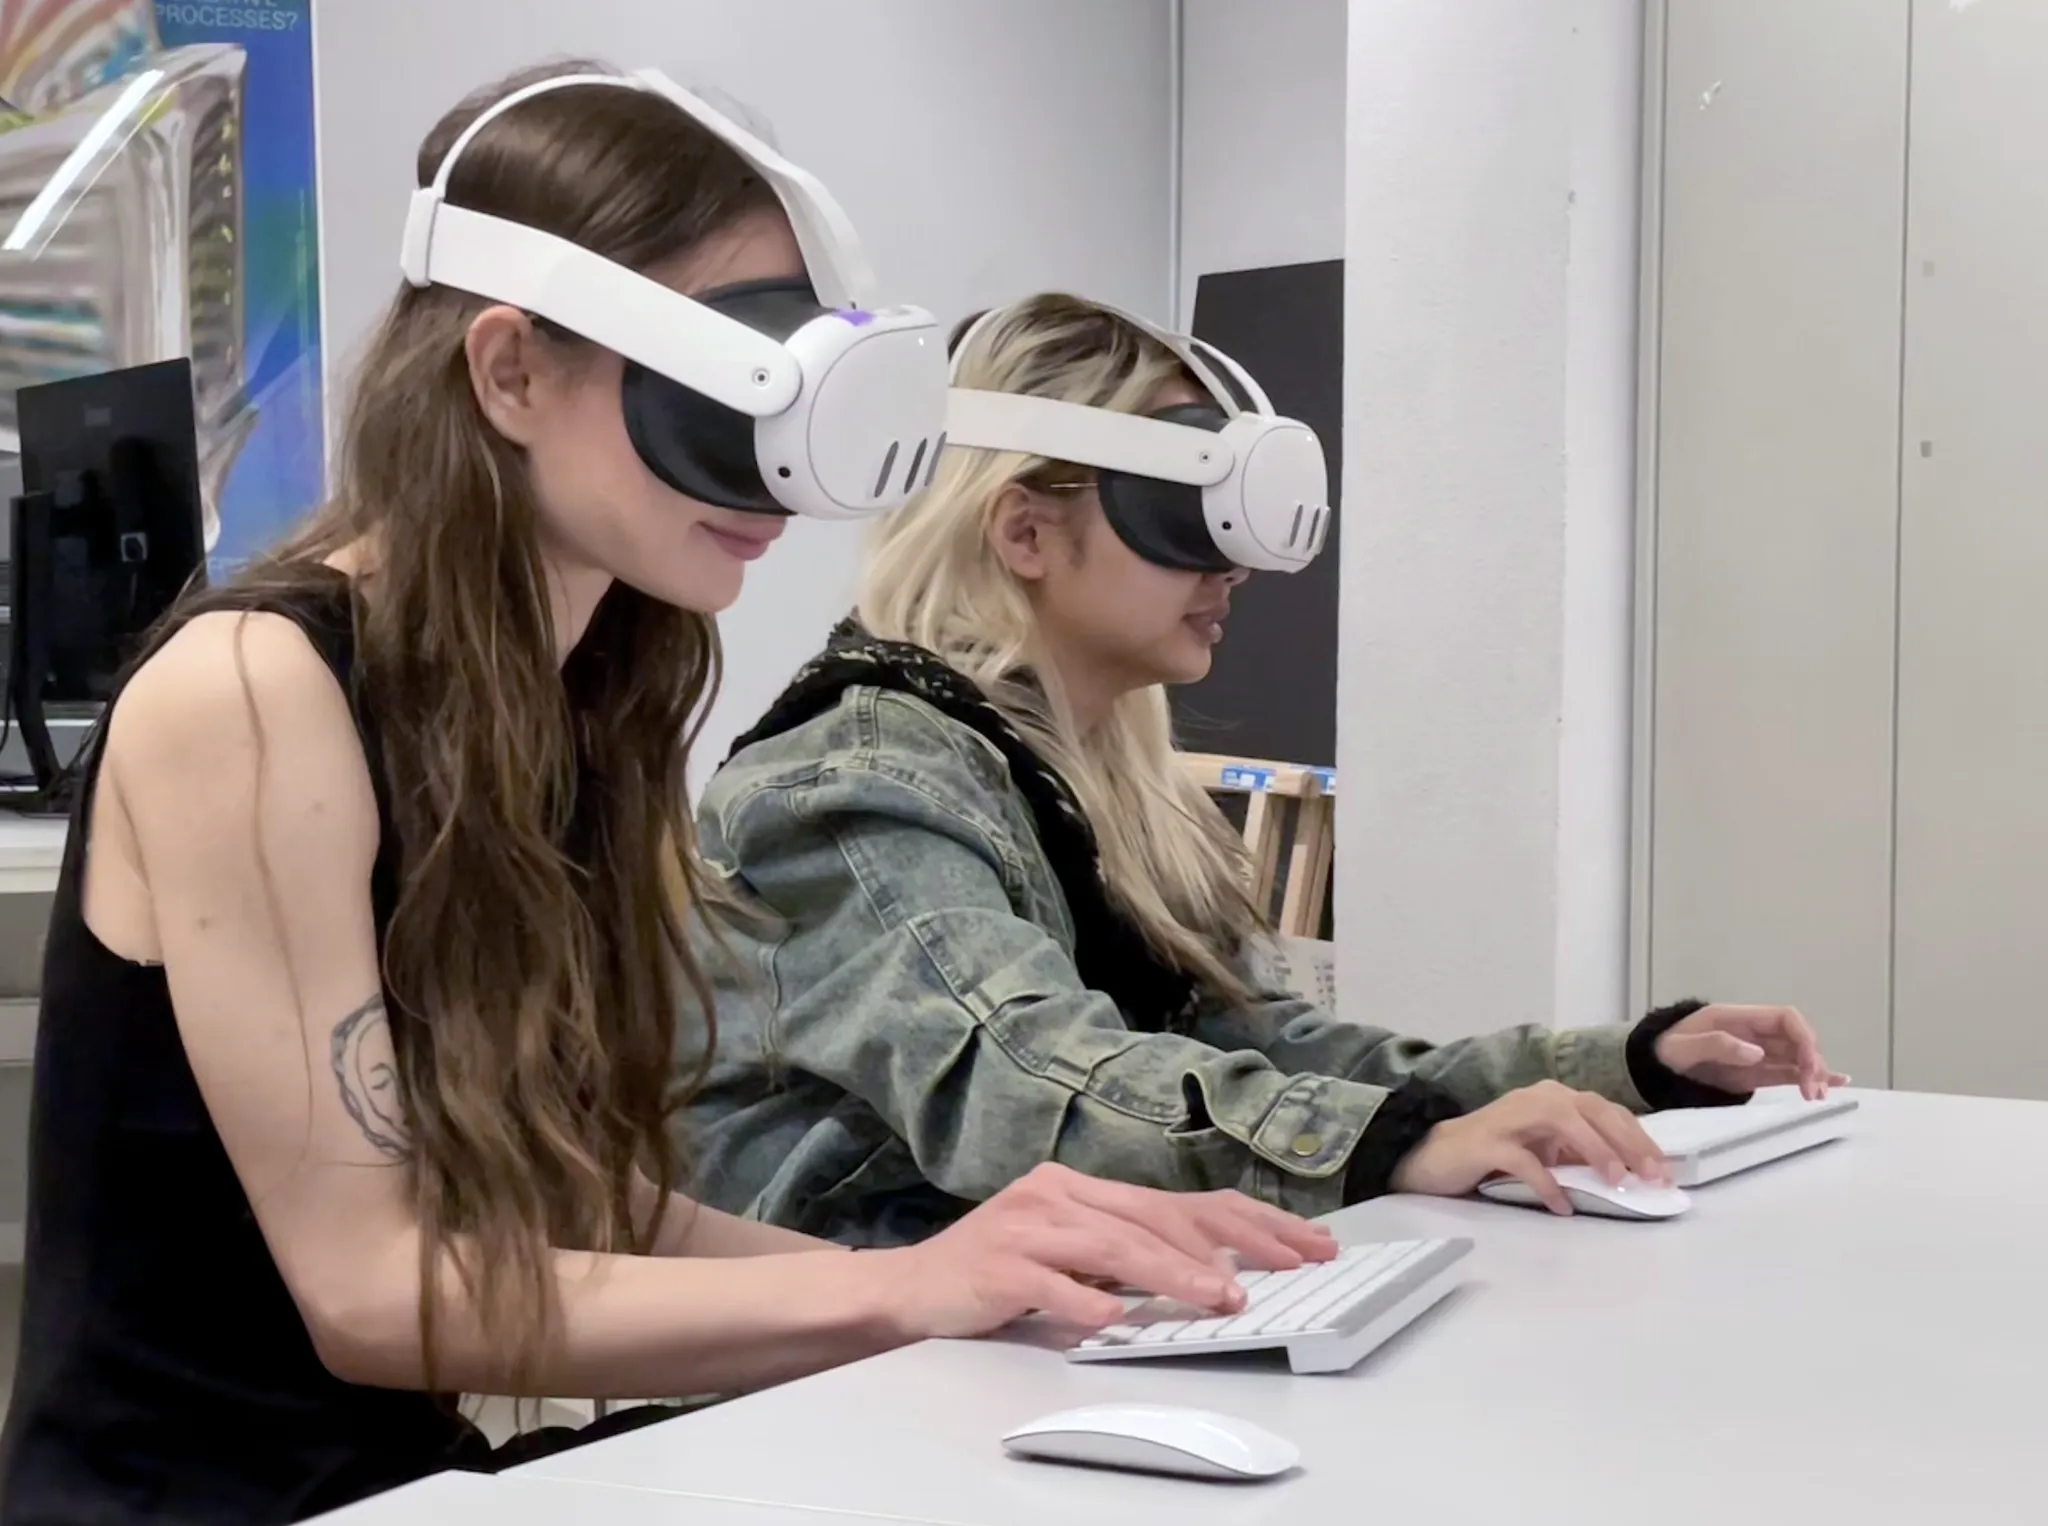
I chose the popular p5.js library to provide artists and designers with a familiar foundation for exploring the medium’s new possibilities with minimal technical hurdles. The web-based nature of p5.js made it easy to share code and examples and build upon the existing ecosystem. I focused on creating a direct process, live-coding everything on Oculus Quest 3 headsets without additional materials or equipment.
Given the novelty of this method, I needed to test it with people as quickly as possible, so I organized three beginner-level workshops at HEAD. With small groups of 3-4 participants, I gathered valuable insights on running these workshops. This article shares my findings, with subsequent posts providing additional details as needed.
Material List
| Hardware | Use | Units |
|---|---|---|
| Oculus Quest 3 | Interaction | 4 |
| US Bluetooth Keyboard 1 | Input | 4 |
| Bluetooth Mouse | Input | 4 |
| High Speed Router | Casting headsets | 1 |
| Projector | Presentation | 1 |
| Software | Use |
|---|---|
| p5.js | Rendering and creative coding library |
| p5.xr | Library for WebXR functionality in p5.js |
| P5LIVE | Live coding editor for immersive mode |
| Airserver | Multi-participant screencast receiver app |
Explaining Meta Horizon OS
When I started running the workshops, I quickly realized that most participants weren’t familiar with the Oculus Quest operating system. So, I began by showing them the basics of the Oculus Quest operating system, covering key apps like the Oculus Quest Browser and the Camera app for screen-casting, as well as general user interactions like navigating menus, interacting with UI elements, setting up a boundary, and entering and exiting web apps.
While the operating system isn’t necessarily complicated, it does require taking the time to understand the various interactions. For instance, something as basic as clicking a button can be done in multiple ways - by poking with your finger, using the pinch interaction, or even clicking with a mouse.
To help people get comfortable, I demonstrated the interactions live while screen-casting my headset display to a projector. This allowed participants to ask timely questions. Then, I had them practice the interactions while screen-casting their displays, guiding them until they felt comfortable.
Seeing What’s Going On
Not seeing what participants were doing on their devices was a significant challenge in these workshops. It led to some frustrating back-and-forth explanations and headset swapping.
I experimented with Oculus’s screen-casting solution, but it wasn’t ideal - it only works for one device at a time and can be unreliable. Then I found AirServer, which lets multiple devices cast their screens to one computer on the same network. Now, I could see what everyone was working on and provide help when needed. To set it up, participants navigate to camera settings, select casting, and send it to the AirServer device.
Getting Everyone on the Same Web Page
Before discussing examples and editors, we needed to get everyone on the same page—literally. Navigating to the same web page was a real challenge, especially when participants wore headsets. The camera passthrough in mixed-reality headsets made small text blurry and hard to copy, slowing the workshop.
That’s why I developed a bookmarklet using Oculus’s web launch feature. This allowed me to send web pages directly to participants’ headsets as long as they were all connected to the same Meta account. It was a simple solution that saved a lot of time.
I also found that shared text pads like Etherpad helped share snippets and links. I used this free instance: https://yopad.eu.
Code Editor
To run a p5.js sketch in 3D with a headset, the user must request an immersive session from the browser. This requires clicking the button every time the sketch is restarted, which is tedious. To avoid this problem, I used a live-coding editor for p5.js called P5LIVE.
P5LIVE is an editor that only re-executes specific parts of the sketch that have changed, avoiding the problem altogether. It also means that the results of the code you write are directly visible, which always feels quite magic, especially in immersive 3D.
P5LIVE also features co-coding, which allows for coding together, much like a shared Google Doc. I used this feature to explain 3D code, having participant see the results simultaneously from their own point of view. This allows for a workable way to run a workshop and help people with their code.
While this editor is handy, there are two important considerations. Firstly, it may occasionally perform a hard reload, which can exit immersive mode. Secondly, using custom libraries like p5.xr requires a small amount of custom boilerplate code. Still, with this addition, you can quickly adapt existing p5 sketches.
Workshop Structure
Pre-Workshop Setup
- Connect mice and keyboards.
- Connect the headsets to the same router (no password, easier).
- Link headsets to the same Meta account (if possible).
- Ensure Oculus Browser and Camera App shortcuts are easily accessible.
Introduction to the headset
- Help participants get comfortable with their headsets, adjusting straps and lenticular distance.
- Demo the headset and the Oculus Operating System
- Introduce interactions:
- Pinch Gesture
- Touch Gesture
- Mouse and keyboard interaction
- Recalibration
- Menu navigation (exit and enter the main menu)
- Move Window Around
- Explore Apps:
- Camera app
- Oculus Browser
- Show participants how to cast to the common Airserver for easy assistance later.
- Allow participants to test out the interactions for themselves, helping as necessary.
Running Examples
Next, explore examples from my sketchbook. The hand-tracking drawing sketch was the most popular, allowing participants to create varied content without writing new code.
Now is a good time to discuss the benefits of a prototyping/sketch-based approach, which differs from applications like Unity/Unreal. I explain immersive session mode and how to toggle it on and off. Then, I introduce p5.xr by presenting a simple sketch like HelloFinger, pointing out similarities with mouseX and mouseY.
Co-coding with P5LIVE
The next step is introducing p5.js 3D code. I use P5LIVE’s co-coding feature and lockdown mode. This way, everyone can see the same code, and the results are in real-time from their point of view. If the live-coding feature is finicky, I show participants how to disable it and run the code themselves with Ctrl+Enter. As we code together, I explain key 3D concepts in p5.js, such as translating, rotating, scaling, pushing, and popping matrices.
Once participants are comfortable, they can start their projects and invite others to join in. We use a shared Etherpad to share links and facilitate collaboration.
Thanks
I want to thank Vytas Jankauskas and Chloé Michel for allowing me to organize these workshops at the Pool Numérique at HEAD and for their valuable support with the organization.
Footnotes
-
Only US physical keyboard layouts are supported for now. There are workarounds, but they do not work for the Meta Quest Browser, which has the best support for WebXR at the moment. ↩